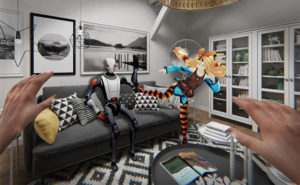
I made a simple augmented reality furniture app as a quick study for AR object placement. I used Unity 2020.3.32f1 and AR Foundation 4.1.7 running on a Google Pixel 2 XL. Moreover, I used the AR Foundation Samples SimpleAR scene as base.
[Updated: April 13, 2022]
[Original Post: September 18, 2020]
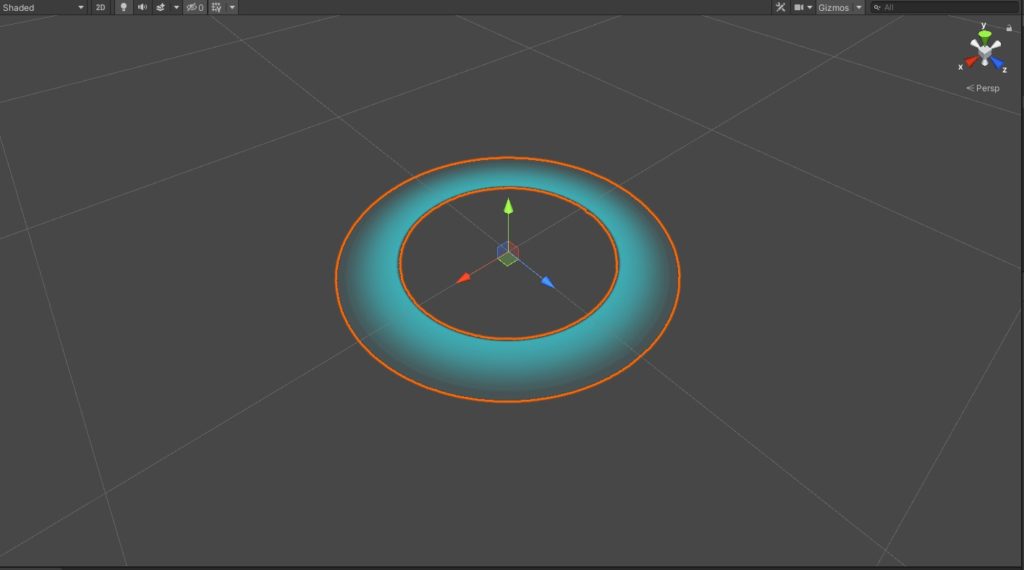
Placement Indicator
The first thing you want to add is a placement indicator. We won’t be displaying the AR Planes, so we need indicators to let the user know if AR Foundation detected a surface. Here’s a quick tutorial on how to add a placement indicator.
Lighting and Shadows
For lighting, I used two directional lights: one for key lighting and another for fill lighting.
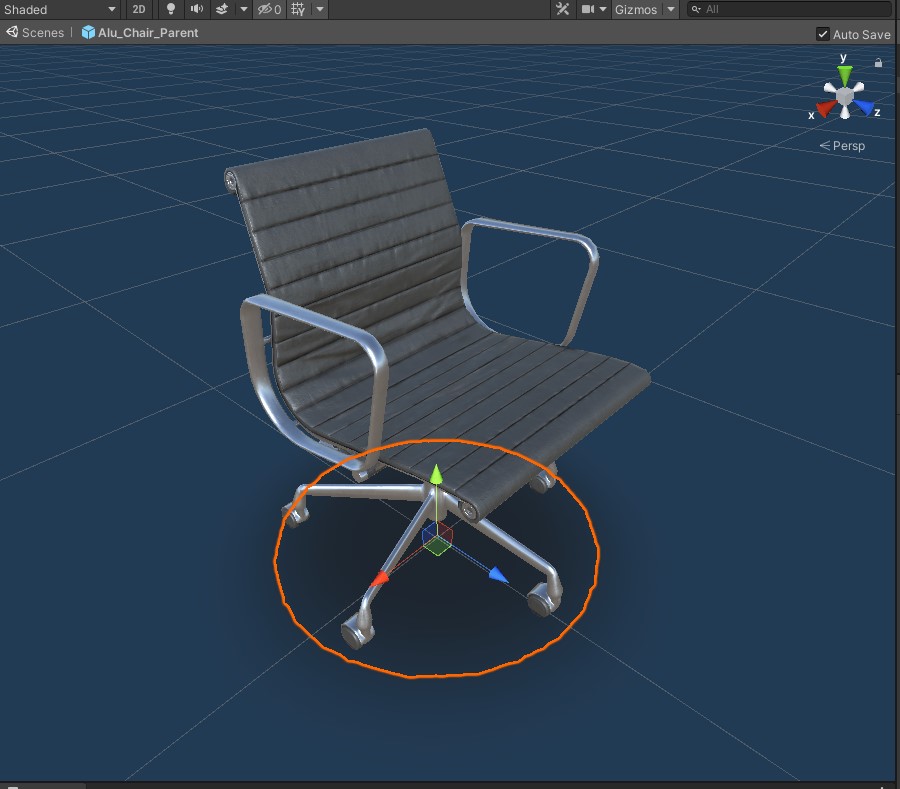
Create prefabs for the furniture objects. Make sure the pivot is at the height where the object makes contact with the ground. Moreover, add blob shadows. They make your objects feel grounded instead of just floating on thin air. A simple quad with a transparent material can look good enough. To take it a step further, you can bake shadows in a 3D modeling app to create a realistic representation of the shadows.
Choose assets that use PBR textures. If you’re using assets from Evermotion, take note that you have to modify the provided textures. Most of them are not optimized for real-time rendering in Unity.
UI Icons
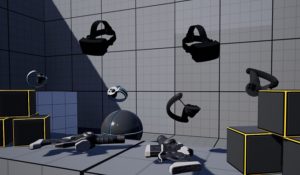
One icon for each 3d model, one delete icon, and another icon to hide the grid or the placement indicator. For the furniture assets, I took a screenshot of each model in a white background.
Place these icons into the canvas and use Scroll Rect to create a scrolling menu containing the spawnable furniture.
Object Scale Animation
I added a simple animation Vector3.Lerp using to make spawning objects look better instead of appearing out of thin air. Below is a sample script based on this guide guide.
IEnumerator LerpObjectScale(Vector3 a, Vector3 b, float time, GameObject lerpObject)
{
    float i = 0.0f;
    float rate = (1.0f / time);
    while (i < 1.0f)
    {
        i += Time.deltaTime * rate;
        lerpObject.transform.localScale = Vector3.Lerp(a, b, i);
        yield return null;
    }
}
You can also do this by using DOTween. It’s a popular animation engine.
Object Selection
I used TouchPhase and Raycast for object selection. When the user taps an object, it becomes the active object and is highlighted. When the user taps on an empty space, all objects are deselected.
if (Input.GetTouch(0).phase == TouchPhase.Ended)
{
Ray raycast = Camera.main.ScreenPointToRay(Input.GetTouch(0).position);
RaycastHit raycastHit;
if (Physics.Raycast(raycast, out raycastHit))
{
if (raycastHit.collider.CompareTag("Object"))
{
HighlightObject();
}
}
else { DeselectObject(); }
}
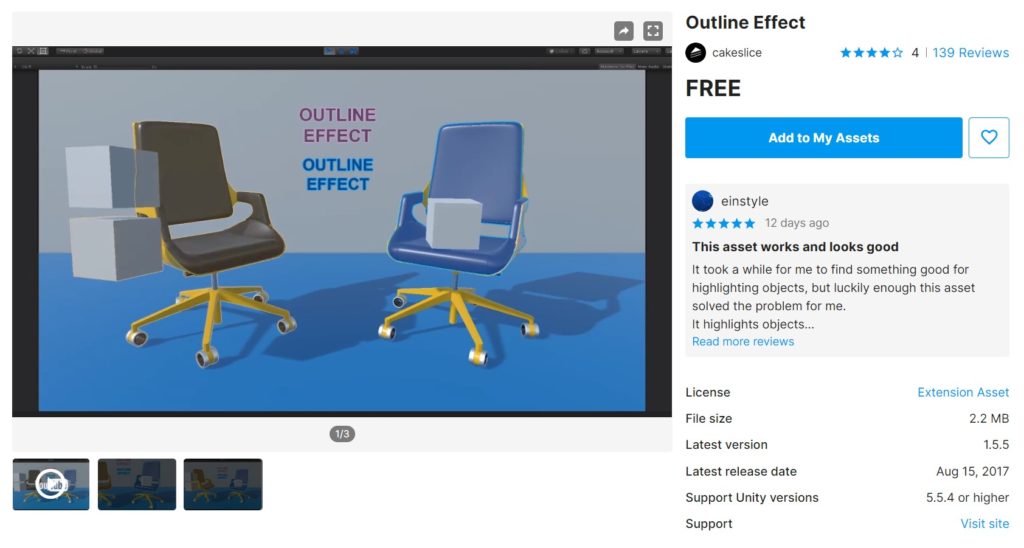
else { DeselectObject(); }A helpful tool I found in the asset store is Outline Effect. It’s very simple, you enable a script component to show the outline, and disable the script to hide the outline.
By default, touch events still occur even if the user taps on UI elements. This sometimes causes unwanted behavior. Follow this tutorial by Dilmer Valecillos on how to block raycast from UI touch events.
using UnityEngine.EventSystems;
using System.Collections.Generic;
using UnityEngine;

public static class Vector2Extensions
{
    public static bool IsPointOverUIObject(this Vector2 pos)
    {
        if (EventSystem.current.IsPointerOverGameObject()) return false;

        PointerEventData eventPosition = new PointerEventData(EventSystem.current);
        eventPosition.position = new Vector2(pos.x, pos.y);

        List<RaycastResult> results = new List<RaycastResult>();
        EventSystem.current.RaycastAll(eventPosition, results);

        return results.Count > 0;
    }
}
Moving Objects
When the user moves his finger, the active object moves along with it. There are several ways to do this. The easiest way is to set the object’s position based on where the user touches on the screen. I tried this approach at first, but noticed that it sometimes causes jumpy movements because of the discrepancy between the user’s touch point and the object’s pivot point. I decided to use a different approach. The algorithm below uses the Main Camera as reference and converts the the user’s touch movement into the active object’s world-space movement.
private GameObject activeObject;
private float speedModifier = 0.0005f;
private Vector3 translationVector;

// Object movement logic within the Update function
if (Input.GetTouch(0).phase == TouchPhase.Moved && activeObject != null)
{
    // Convert X-Y touch movement to object translation in world space
    translationVector = new Vector3(Camera.main.transform.forward.x, 0f, Camera.main.transform.forward.z);
    activeObject.transform.Translate(translationVector * Input.GetTouch(0).deltaPosition.y * speedModifier, Space.World);

    translationVector = new Vector3(Camera.main.transform.right.x, 0f, Camera.main.transform.right.z);
    activeObject.transform.Translate(translationVector * Input.GetTouch(0).deltaPosition.x * speedModifier, Space.World);
}
You can create a simpler algorithm by using only a single translation vector instead of two. One other thing, you’ll notice that objects farther away from the user tend to move slower. You need to add another variable into the equation that takes into account the distance of the active object from the user.
Check out Lean Touch as well. It has a wide range of demo scenes for input management.
Rotating Objects Using Two Fingers
Object rotation can be done in difference ways. In my approach, I calculated the slope of the line containing the coordinates of the two fingers. Afterwards, I compared the calculated slope of the current frame with the slope from the previous frame. The values will give you an idea if the fingers were rotated in a clockwise or a counterclockwise fashion.
private GameObject activeObject;
private float previousRotationAngle = 0f;
private float currentRotationAngle = 0f;

void Update()
{
    // Initialize rotation angle for 2-finger object rotation
    previousRotationAngle = currentRotationAngle;
    // Check if user is touching with 2 finger and is not touching any UI
    if (Input.touchCount == 2 && !Input.GetTouch(0).position.IsPointOverUIObject() && !Input.GetTouch(1).position.IsPointOverUIObject())
    {
        currentRotationAngle = Mathf.Atan((Input.GetTouch(0).position.y - Input.GetTouch(1).position.y) / (Input.GetTouch(0).position.x - Input.GetTouch(1).position.x));
        if ((currentRotationAngle - previousRotationAngle) > 0)
        {
            activeObject.transform.Rotate(0, -rotateSpeed, 0);
        }
        if ((currentRotationAngle - previousRotationAngle) < 0)
        {
            activeObject.transform.Rotate(0, rotateSpeed, 0);
        }
    }
}
If you want to add object scaling, then study the Scale scene. Scaling with AR Foundation.