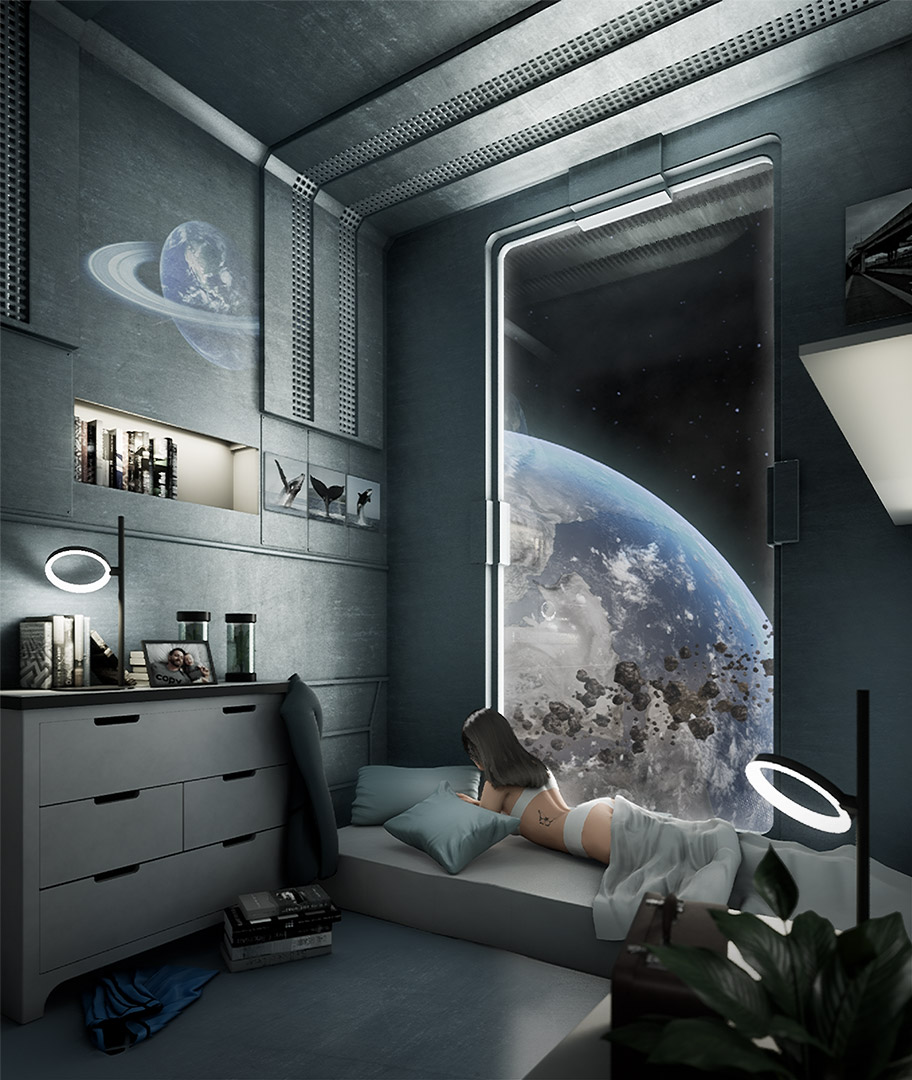
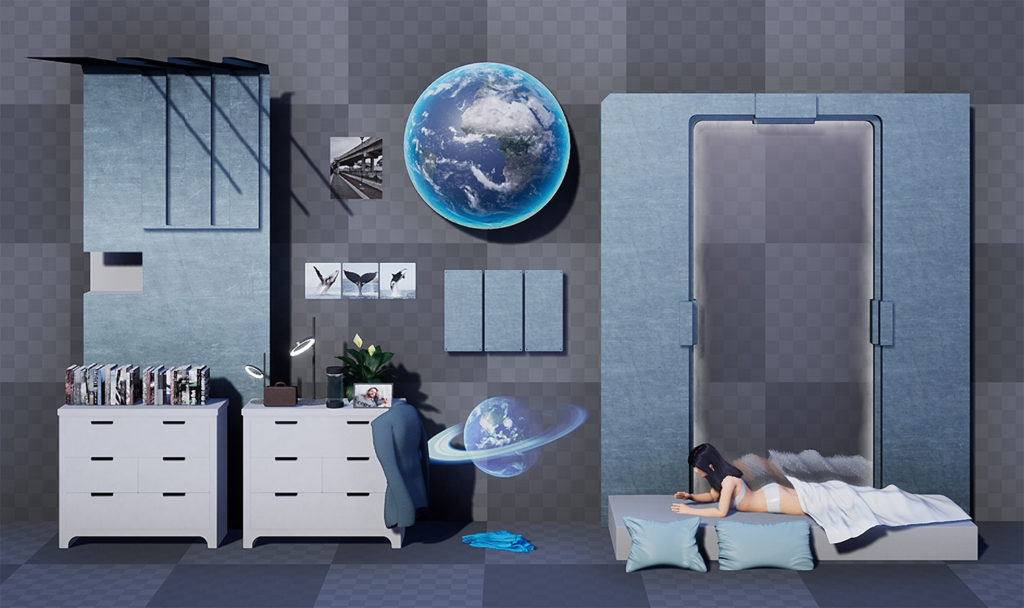
I recently found this captivating concept art by Tom Schreurs and instantly wanted to recreate it in UE4. I feel like the concept captures this idea where Earth has become overpopulated, and people are sheltering in space habitats. My goal was to improve my lighting setup and material creation in UE4. Below is the finished scene:
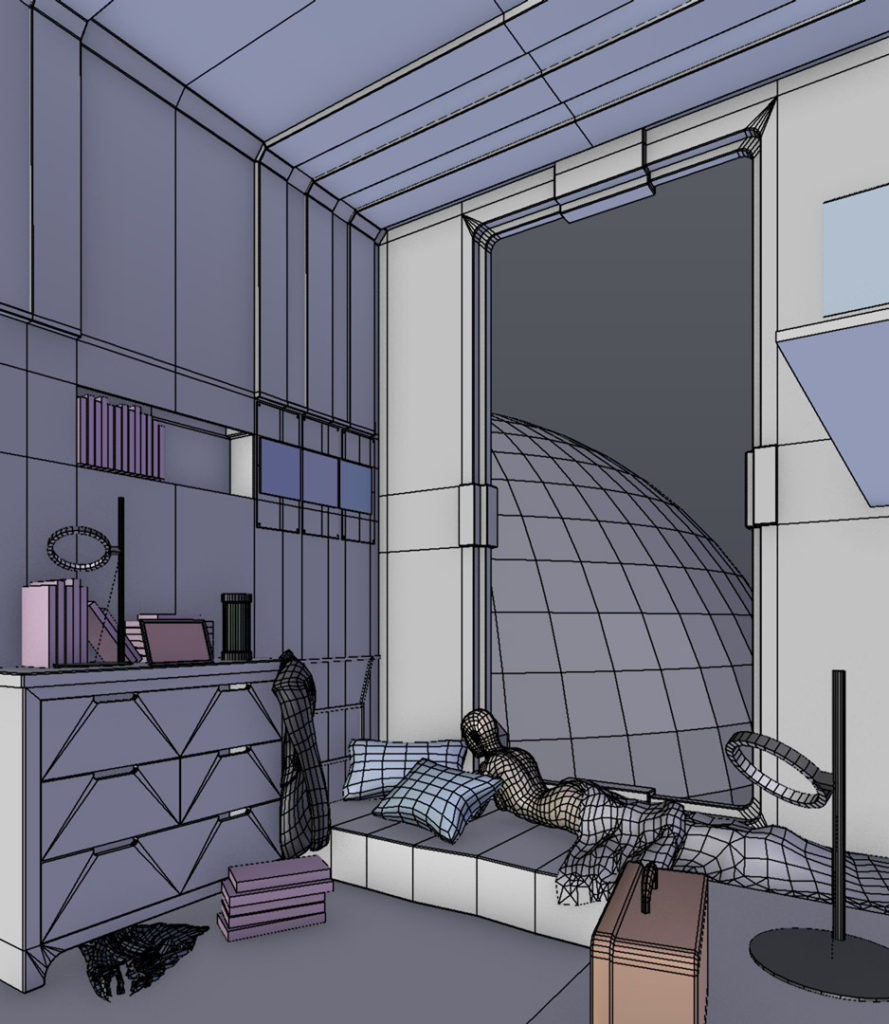
1. Blocking the Scene
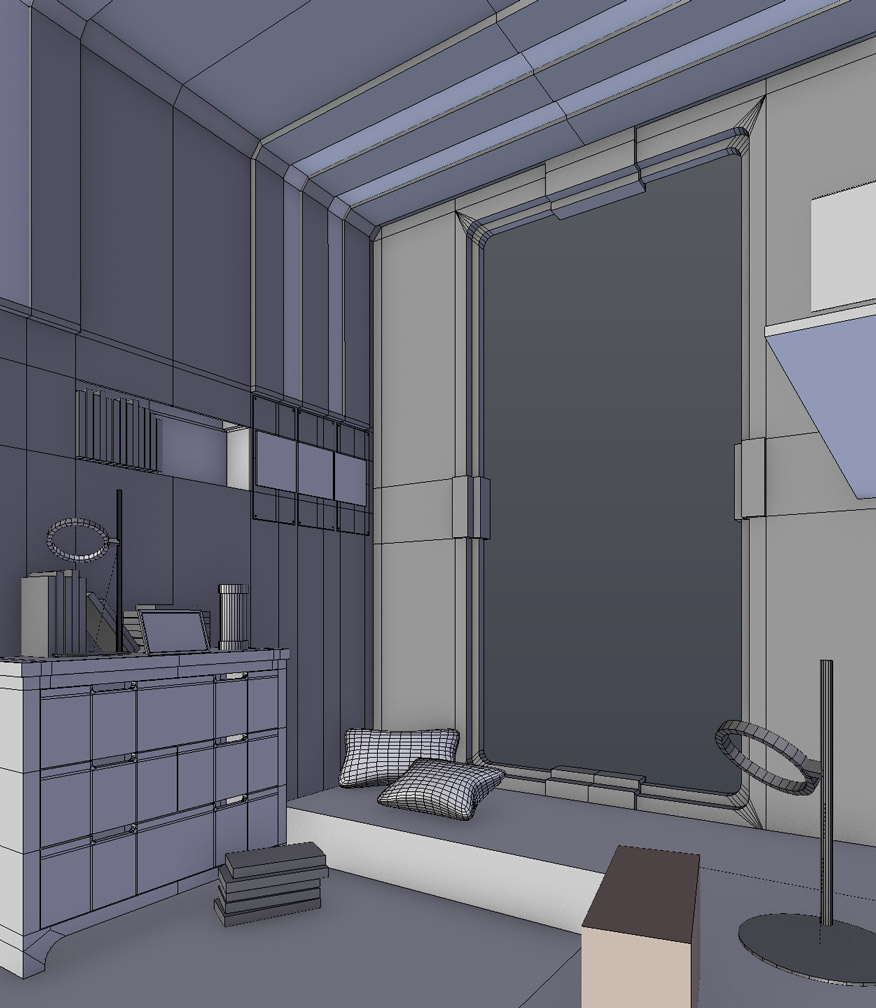
Matching the perspective and blocking out the scene. I decided to create the simpler objects first and do the more complicated ones later.
2. Initial Lighting
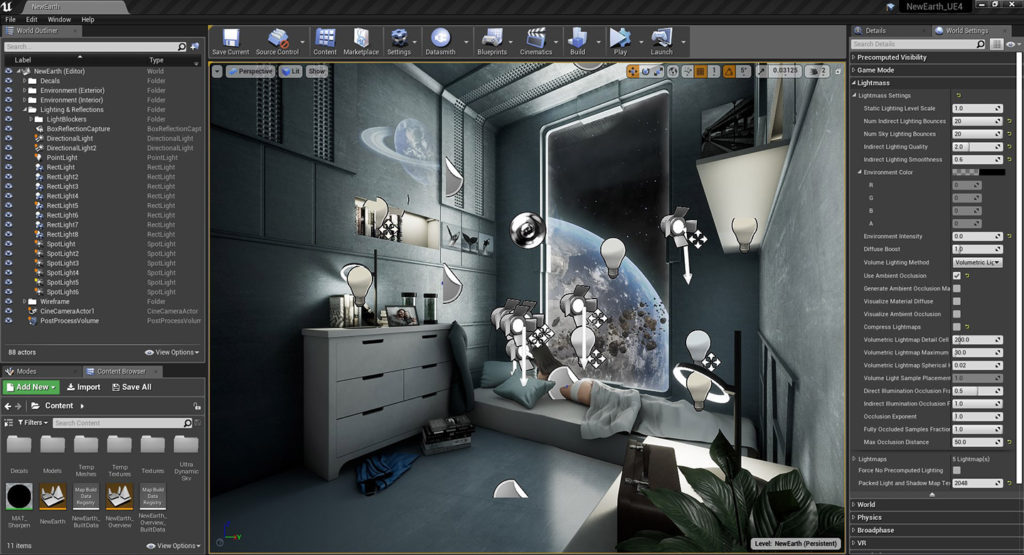
I imported the scene to UE4 and played around with baked lights. The primary light source is a Static Rect Light just outside the window. I slapped a few basic materials and adjusted the colors accordingly just to get an idea on what values I’ll be using during the texturing phase later. I also turned off SSAO and Auto-Exposure, and turned on baked AO.

I did a lot of tweaking with the placement of the lights and the reflection capture to get the desired look as well as adjusting the intensity of the Screen Space Reflection. I also used a 25% Desaturation on the post-process volume since the original reference seems to be pretty desaturated. Alternatively, it might have been a good idea to adjust post-processing later and not this early. Later during the creation of the scene, I adjusted Indirect Lighting Quality to 2.0 and Indirect Lighting Smoothness to 0.6. This increased bake time, but improved the lighting in my case.
3. Creating the Skybox
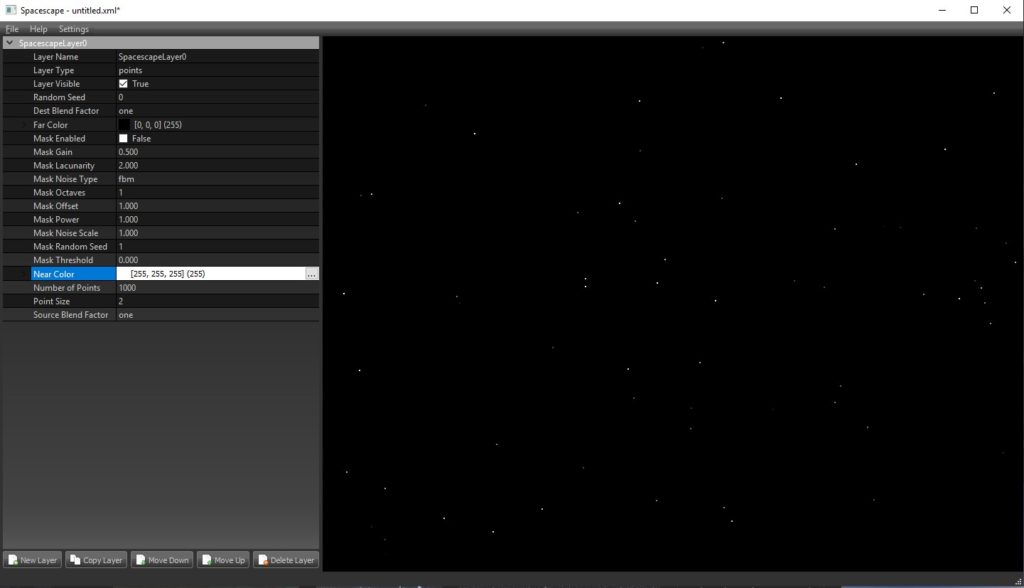
For the skybox, I made a simple starry sky using a tool called SpaceScape (the site seems to be down at the moment). This tool can do some pretty interesting things when you put more time into it.
4. Creating the Exterior (Earth & Asteroids)
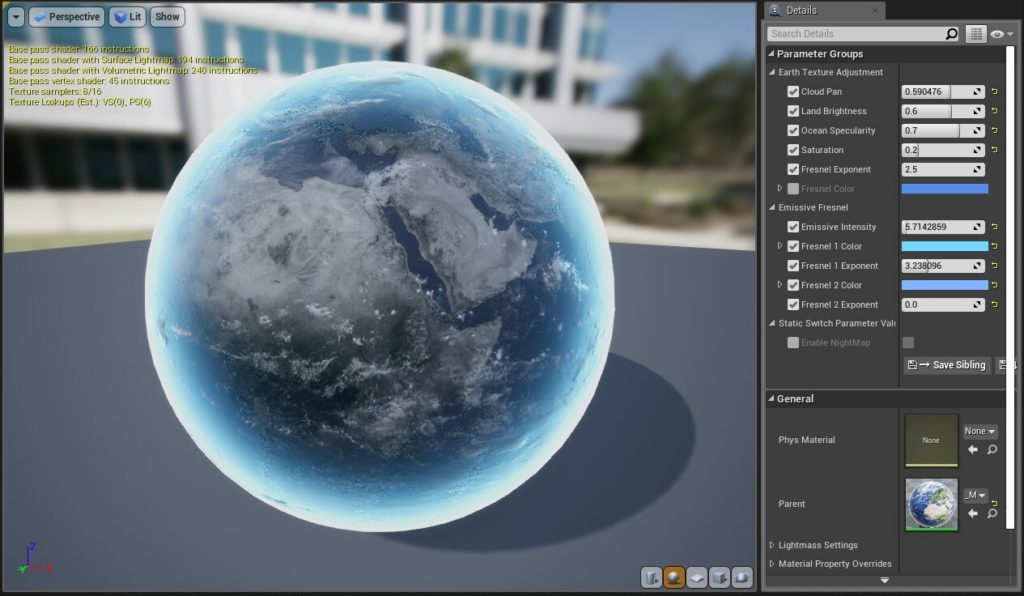
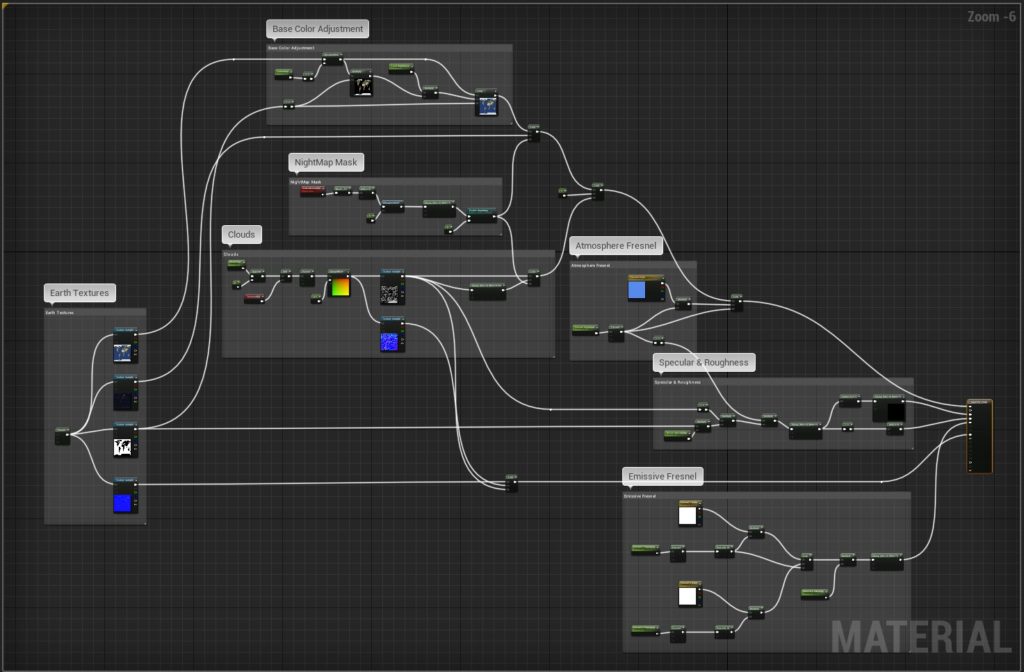
I recycled an Earth model I used from a previous project and tweaked the shaders to suit the scene’s needs.
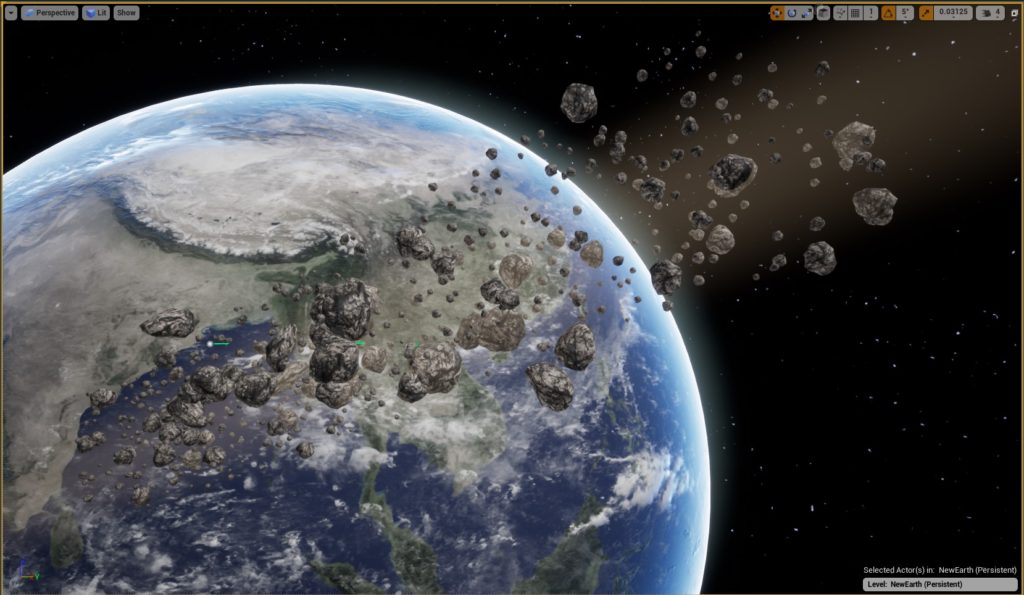
The asteroid belt seen through the window is made from rock mesh particles spawned along a cylinder. I placed them in a separate lighting channel to make it easier to control the way they’re lit. It’s definitely more optimized if I used flat planes instead of meshes, but doing that would somewhat make it harder to tweak the way they look.
5. Adding More Props
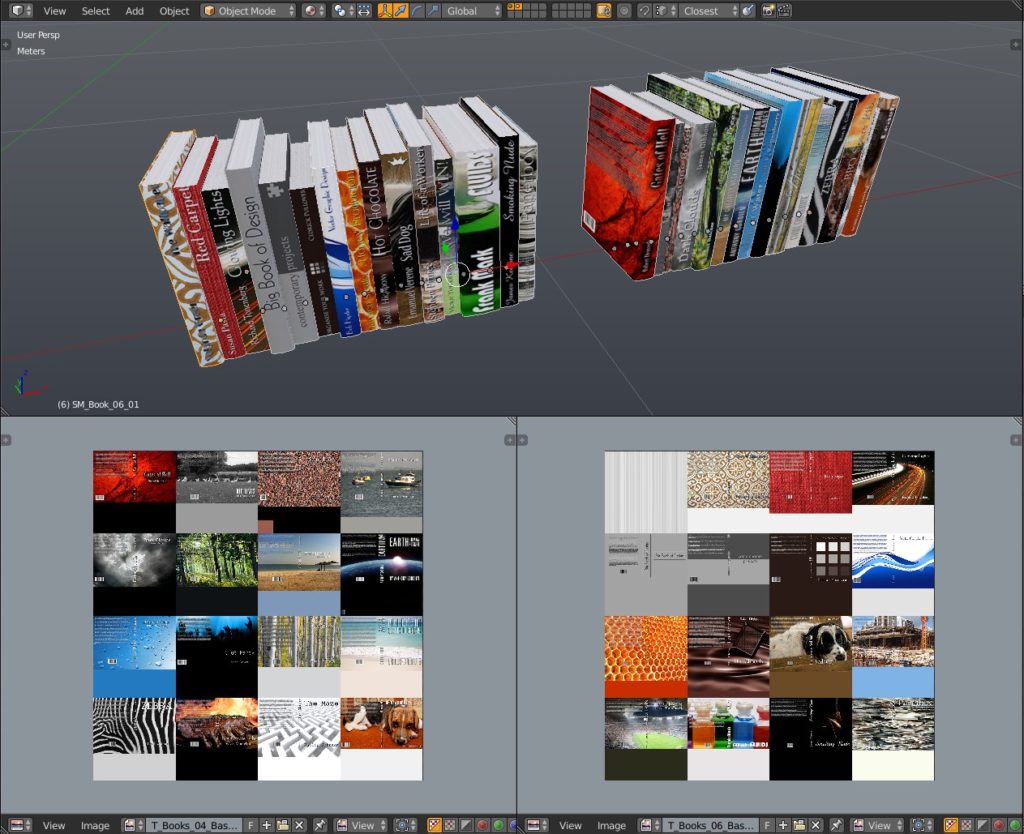
The props are fairly simple. Just a bunch of books, lamps, paintings, and a plant. Objects like these are easily obtainable from ArchViz libraries with a few tweaks and optimization here and there coupled with some texture atlasing. Luckily, there was a Houseplant Pack during the UE4 marketplace monthly giveaways. I grabbed one of the plants there and placed it in the corner of the scene. The other items were modeled in Blender.

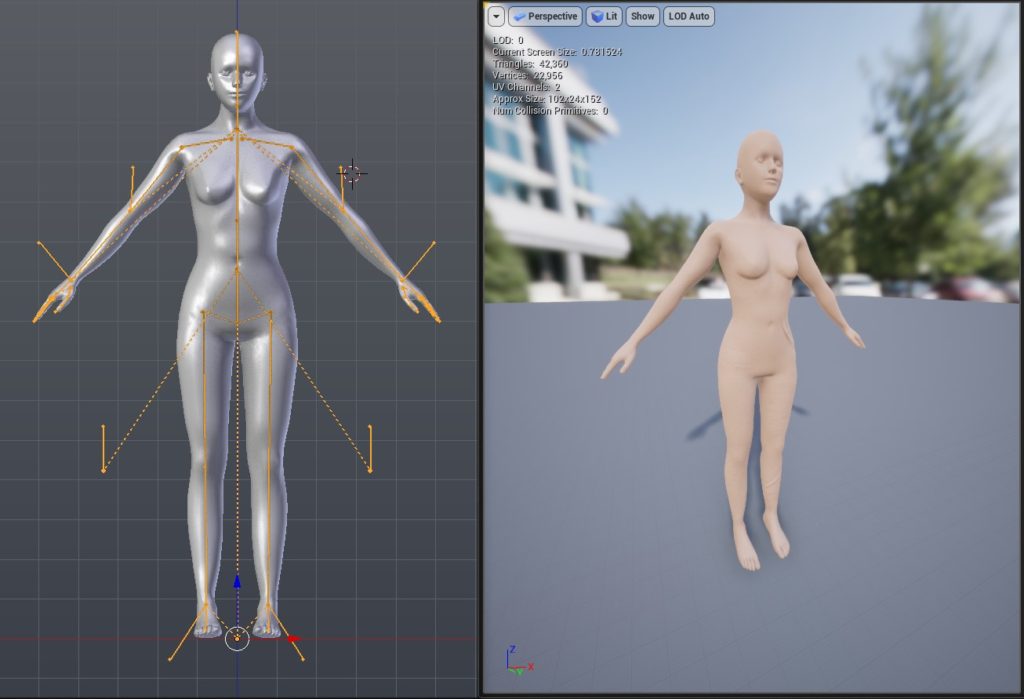
6. Adding the Female Character
I have no experience in character modeling, so I just grabbed a free female avatar rig and posed the character. Interestingly, I found a skin shader in the UE4 Content Examples. With some minor tweaks, it actually does a pretty good job as a tiling skin material as long as you don’t place the camera too close. Afterwards, I slapped some clothing and hair on the character.
After researching, it turns out that creating real-time female hair is an entire topic by itself! The process is covered in a bunch of 80 Level articles: here, here, here, and here. It’s great that Epic provided some hair shaders in their sample projects. I studied the hair assets from Paragon and found Shinbi‘s hair to be the closest fit for the character in the scene, with a couple of adjustments.
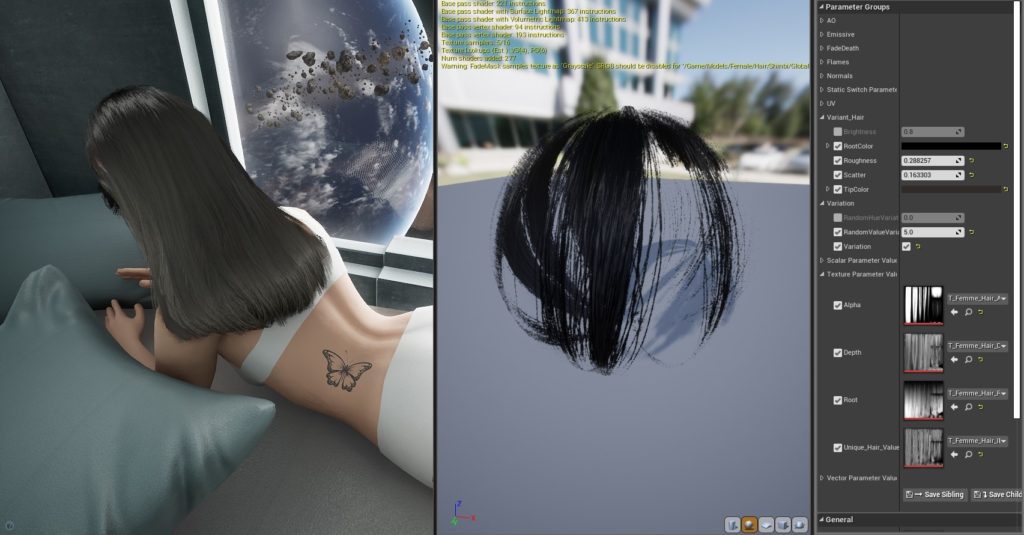
Morever, I added a bunch of lights on top of her and the pillows to put some emphasis on them.
7. Post-Processing
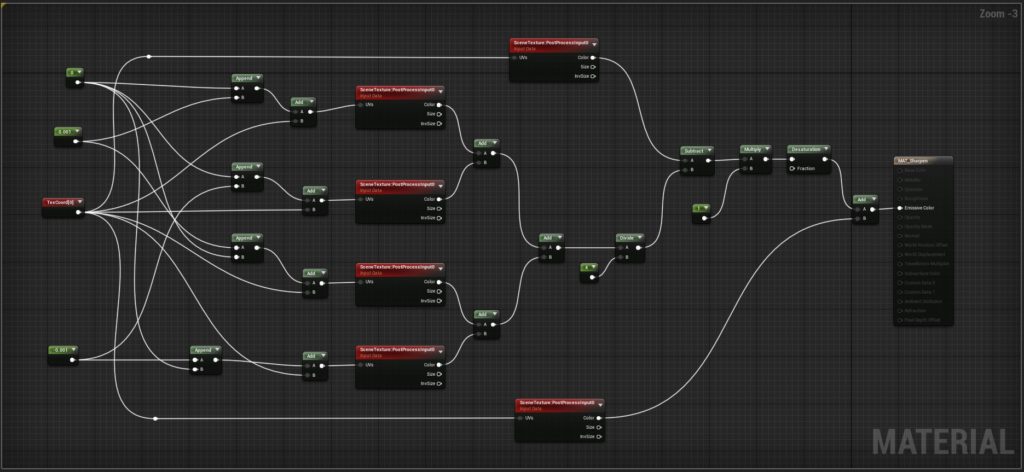
Another helpful tutorial I found is How to Make UE4 Look as good as Marmoset. In the last part, Jack McKelvie shows how to setup a Sharpen post-process material. This is very helpful for screenshots since you don’t have to do a Sharpen Filter in Photoshop every time you prepare an image for your portfolio. Temporarily disabling Mipmaps on all of your textures also helps preserve the details.
Other than sharpening, I also did some color grading by decreasing Saturation, increasing Global Contrast, and increasing Shadow Gain to get the desired look.
8. The Finished Scene
I did a bit more color grading and consulted with several artists on which one of the two below looked better. Eventually, I decided to stick with the original on the left.